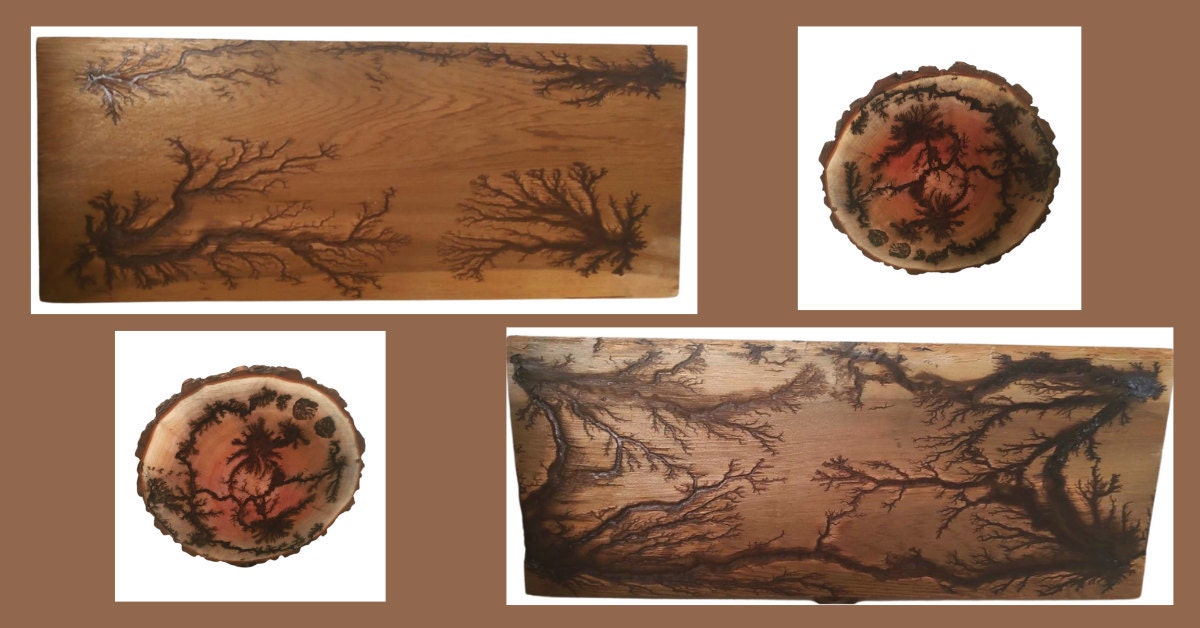
Burnt wood, particularly those crafted using the Lichtenberg fractal burning technique, offers a mesmerizing aesthetic with its intricate, lightning-like patterns. Finishing burnt wood is essential to protect it, enhance its beauty, and ensure its longevity. Whether you're creating wall art, furniture, or decorative items, properly finishing your burnt wood piece can transform it into a professional-quality masterpiece.
Here’s a comprehensive guide to finishing burnt wood for DIY projects and crafts:
1. Clean and Prepare the Wood
Before applying any finish, it’s important to clean your burnt wood thoroughly. The burning process often leaves soot, ash, and charred debris that can interfere with finishing.
- Brushing: Use a soft-bristle brush or a stiff nylon brush to remove loose soot and debris from the burnt areas. Brush gently to avoid damaging the intricate patterns.
- Compressed Air: For deeper grooves or hard-to-reach areas, use compressed air to blow out remaining debris.
- Vacuuming: A shop vacuum with a brush attachment is another effective way to clean the wood surface.
After cleaning, inspect the wood for sharp edges or splinters, especially around the burned sections. Sand any rough areas with fine-grit sandpaper (180-220 grit) to smooth the surface. Avoid sanding the burnt areas too much, as this may diminish the patterns.
2. Add Color or Stain
If you want to add a pop of color or enhance the natural wood tones, consider staining the wood before sealing. Stains work well on the non-burnt areas, creating a striking contrast with the dark patterns.
Choosing a Stain:
- Use a water-based stain for subtle, translucent color.
- An oil-based stain provides richer tones and penetrates deeper into the wood.
- For bold and creative designs, experiment with gel stains or even colored wood dyes.
Application:
- Apply the stain with a cloth or brush, working it into the wood grain.
- Wipe off excess stain immediately to prevent blotching.
- Let the stain dry thoroughly before moving on to sealing.
3. Seal the Burnt Wood
Sealing burnt wood is crucial to lock in the patterns, prevent flaking, and enhance the wood’s durability. The right sealer can also add a subtle sheen or a deep matte finish, depending on your project’s aesthetic.
Choosing the Right Sealer:
- For a natural look, use a clear polyurethane or matte lacquer.
- To enhance the depth and richness of the patterns, try oil-based finishes like tung oil or boiled linseed oil.
- For a modern, glossy appearance, opt for epoxy resin or high-gloss polyurethane.
Application Tips:
- Apply the sealer with a clean brush, foam applicator, or cloth.
- Use light, even strokes to avoid pooling in the grooves.
- Allow the first coat to dry completely, then lightly sand with fine-grit sandpaper to remove any raised grain.
- Apply 2-3 additional coats for optimal protection, sanding lightly between coats.
4. Apply a Protective Finish
After sealing or staining, a protective topcoat is necessary to safeguard your piece against wear and tear. This is especially important for functional items like shelves, furniture, or outdoor decor.
Popular Finishes:
- Polyurethane: Durable and versatile, available in gloss, semi-gloss, or matte finishes. Ideal for high-traffic pieces.
- Epoxy Resin: Perfect for adding a thick, glass-like layer, making it great for decorative or tabletop items.
- Beeswax or Wood Wax: Adds a natural, soft sheen while protecting against moisture. Best for indoor decorative pieces.
Application Process:
- For liquid finishes, use a brush or sprayer to apply thin, even coats.
- For wax finishes, apply with a soft cloth, buffing the surface for a smooth finish.
- Allow adequate drying or curing time based on the product’s instructions.
5. Consider Additional Enhancements
For a truly unique finish, consider these optional steps:
- Resin Inlays: Fill deep grooves or voids in the wood with colored or clear epoxy resin for a striking effect.
- Metallic Highlights: Apply metallic paint or gilding wax to parts of the burnt patterns for a touch of elegance.
- Textured Contrast: Pair the burnt wood with other materials like polished metal or colored glass for multi-textural designs.
6. Maintenance and Care
Finished burnt wood requires minimal maintenance, but proper care will ensure its longevity:
- Dust regularly with a soft cloth.
- Avoid exposing the wood to excessive moisture or direct sunlight.
- Reapply wax or a protective topcoat as needed to maintain its appearance.
Safety Tips During Finishing
- Work in a well-ventilated area to avoid inhaling fumes from finishes or stains.
- Wear gloves and safety glasses for protection.
- Always follow the manufacturer’s instructions for all finishing products.
Why Finishing Matters
Finishing your burnt wood piece is more than just a practical step; it’s an opportunity to enhance its natural beauty and make it truly your own. Whether you’re crafting rustic wall art, functional shelves, or a unique centerpiece, a well-finished piece will stand the test of time and be a source of pride.
For more tips, inspiration, or ready-made burnt wood pieces, visit FractalForageStudio.com and explore the artistry of handcrafted woodwork!
